How to choose and install an air conditioner in NYC

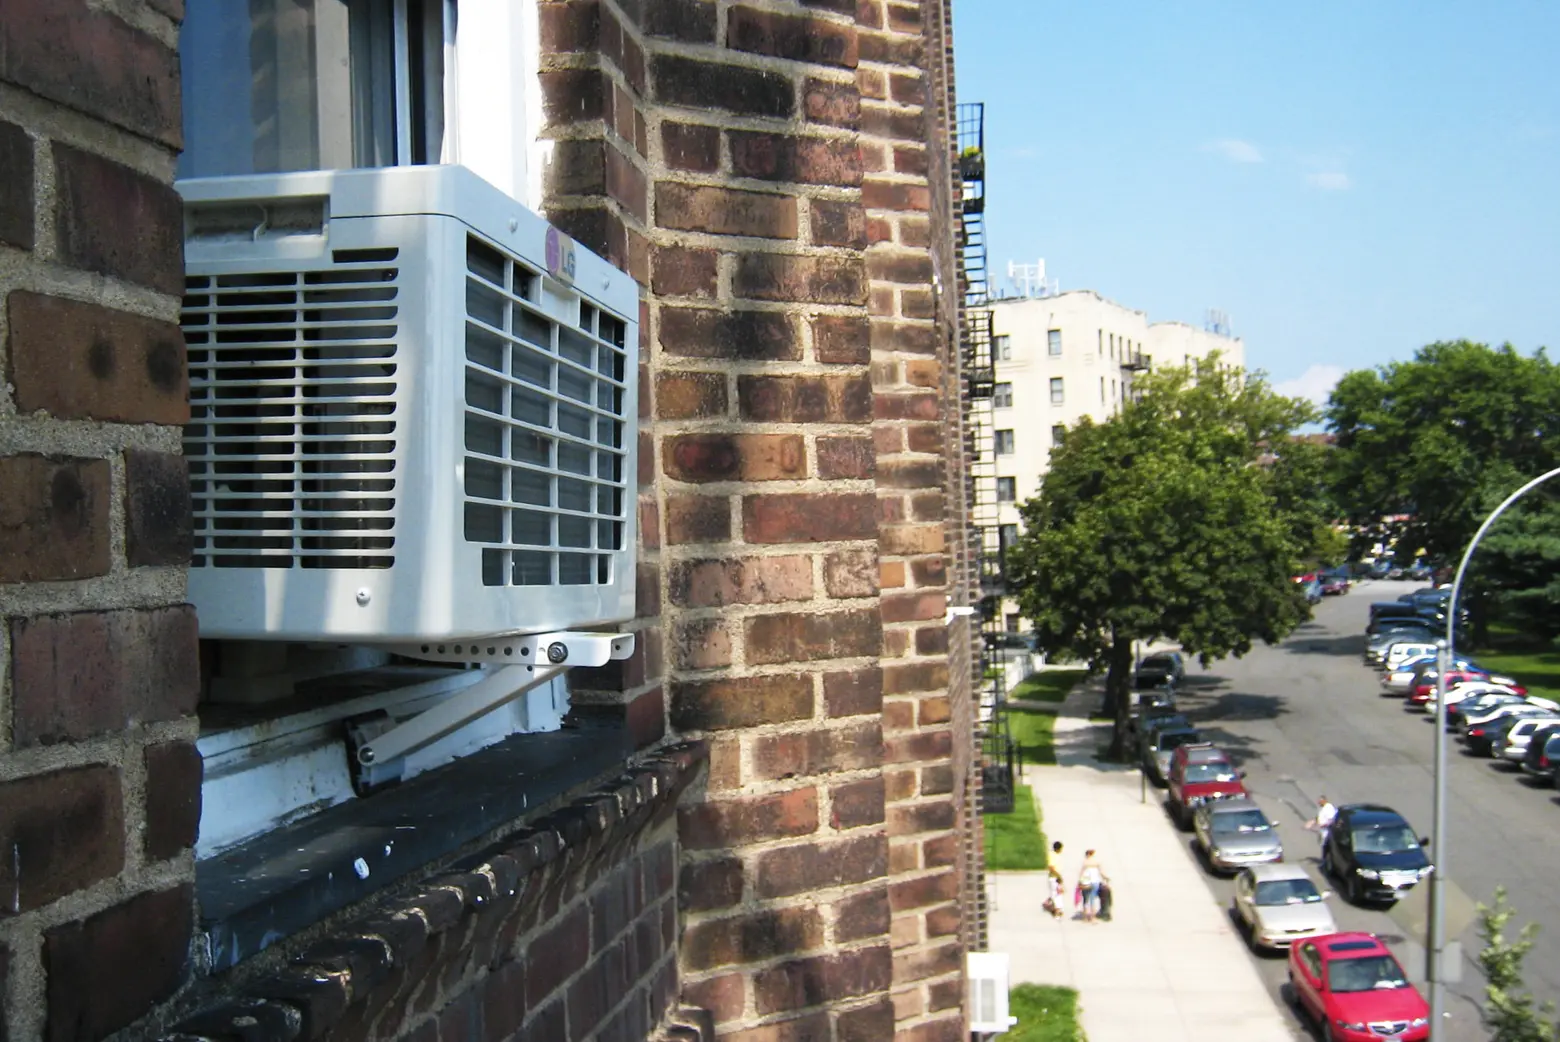
Photo by Traci Lawson via Flickr cc
While a summer spent in the city is typically an exciting time for New Yorkers, it can also be quite miserable for those whose apartments don’t have central air conditioning. For renters, though, a window AC unit makes the most sense since it’s a much cheaper alternative to installing central air and can be taken to your next apartment. Although installing your own air conditioning unit can be intimidating, 6sqft has put together a comprehensive list of AC installation tips to help you chill out and enjoy the short and sweet summer months ahead.
Products have been hand-selected by team 6sqft. We may receive a commission for purchases made through these affiliate links. All prices reflect those at the time of publishing.
Know the square footage of your space
Unless explicitly stated in your lease, the responsibility of installing an air conditioner falls totally on the renter, not your building’s management. If you’re not feeling confident in your installation abilities, asking your super or perhaps even calling a professional may also work. However, if lacking the funds to pay a handyman, which can cost between $150 to $215 for labor, you’ll have to do all of the dirty work. Before you purchase, ask your landlord for permission to install the unit.
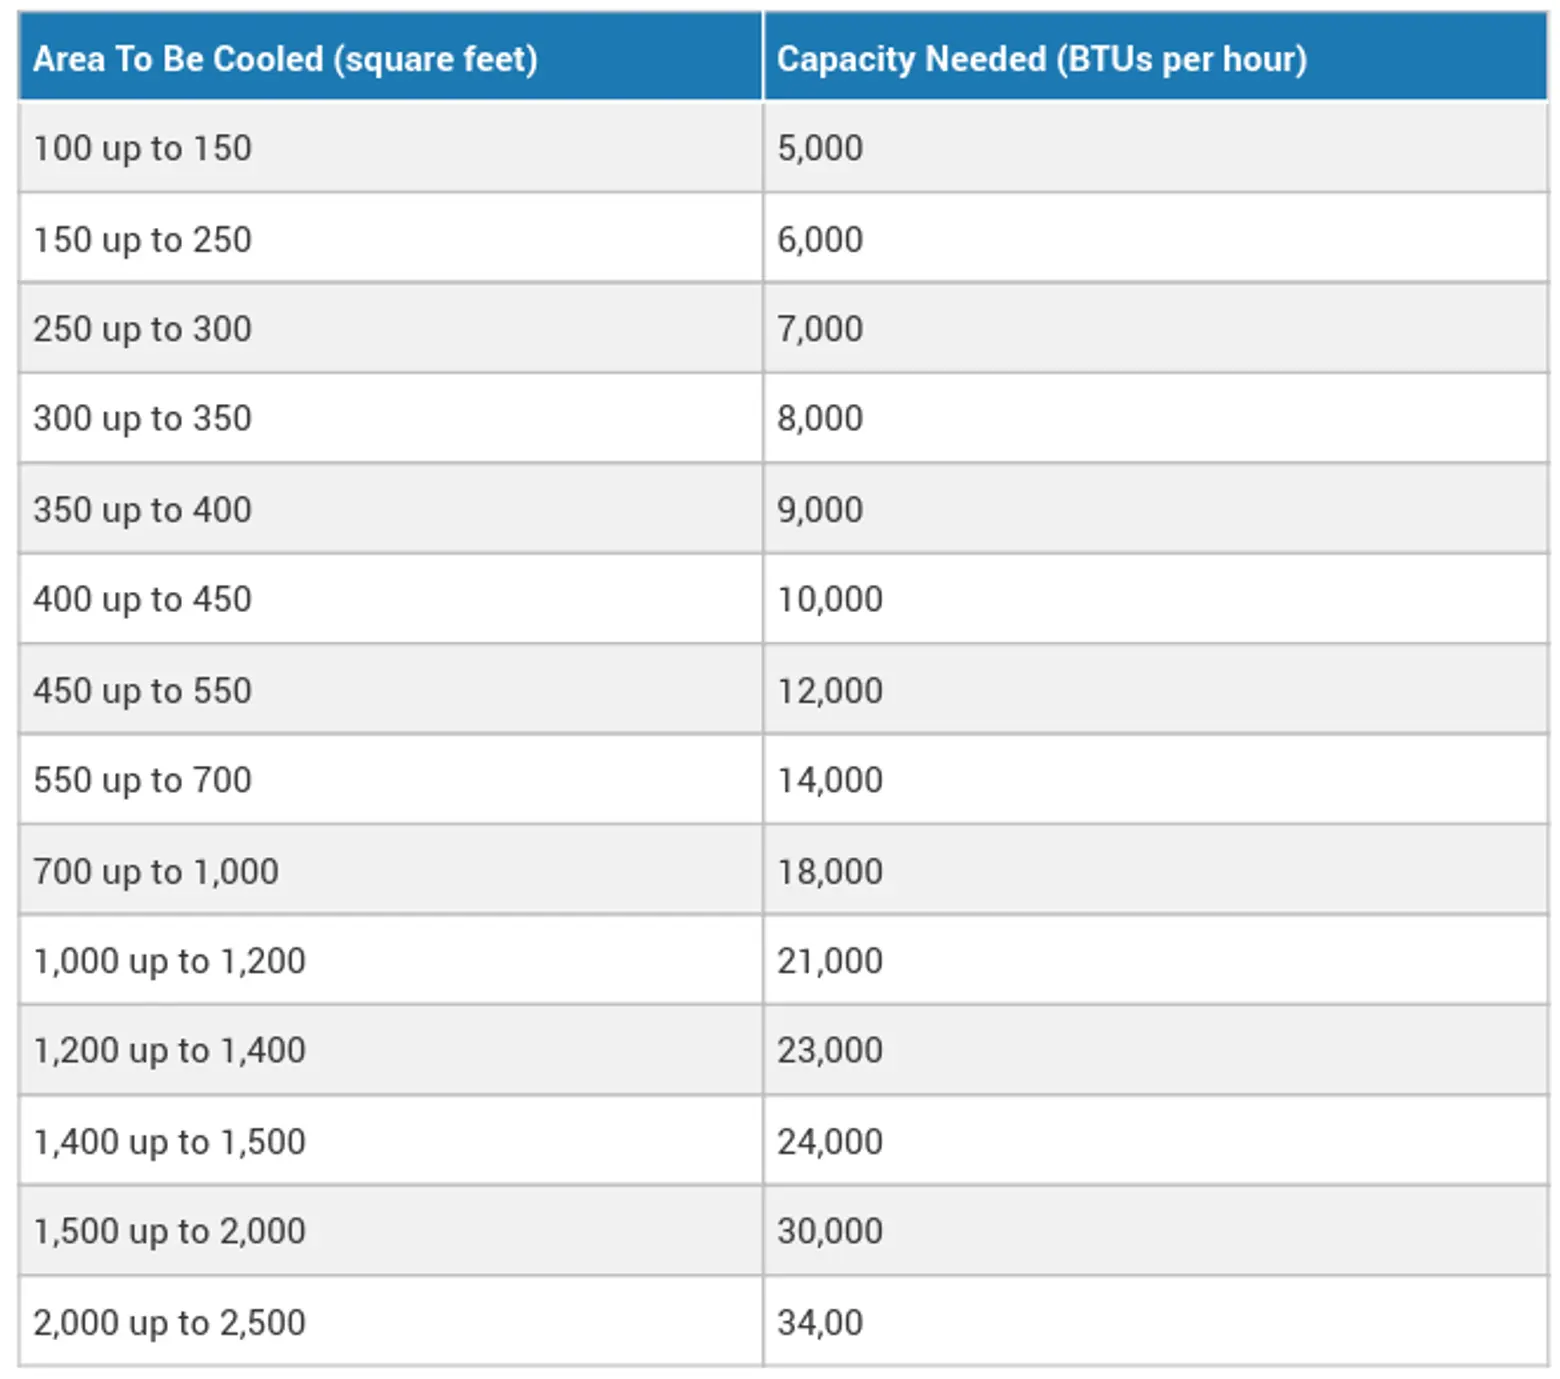
Before choosing which air conditioning unit to buy, first, calculate the size of the room you intend to cool so you know what capacity is needed. Using a chart created by EnergyStar, find the square footage of your space to determine how many BTUs (British thermal units) your unit needs. Remember to take other factors into consideration like ceiling height and room shape when selecting your unit.
 Chart courtesy of Energy Star
Measure your window. Then, do it again.
Don’t put away the tape measure just yet. You will have to measure the dimensions of your window very carefully to ensure your unit fits properly. Bigger isn’t always better for AC units. The most efficient and cheapest way to cool your place is to measure correctly. Buying an air conditioner that is too large does not cool the space any better and just wastes energy. Most air conditioners are designed for double-hung windows so you will want to measure the inside dimensions of the window.
Choose an AC unit that meets your needs
Examine your space and its shade before buying your unit. According to Consumer Reports, if the room is heavily shaded, reduce capacity by 10 percent. On the flip side, if the room gets a lot of sun, increase capacity by 10 percent. If more than two people regularly occupy the room, add 600 BTU for each additional person. If installing a unit in the kitchen, increase capacity by 4,000 BTU.
Price of units & their energy efficiency
Some units cost under $200, a tempting bargain, but only cool very small spaces. This year Popular Mechanics tested seven new window-mounted AC units from 5,000 BTU to 15,000 BTU. The top four include:
- Amana AMAP050BW–5,000 BTU, Window-Mounted Room Air Conditioner ($185, cools 150 square feet)
- Midea MAW06R1BWT– 6,000 BTU EasyCool Window Air Conditioner ($223, cools 250 square feet)
- Midea MAW12V1QWT– 12,000 BTU U Inverter Window Air Conditioner ($469, cools 550 square feet)
- Amana AMAP151BW– 15,000 BTU Window-Mounted Air Conditioner ($731, cools 700 square feet)
Installing the window AC unit
Depending on which unit you choose, different attachments will be provided, so be sure to carefully read the manufacturer’s instructions. You will need a power drill, screwdriver, and possibly a foam seal. To successfully install your window AC unit, follow these steps:
1. Open the bottom part of your window, remove the screen if there is one and vacuum the window’s sill and the channels.
2. Prepare the extensions, or the accordion-looking piece that comes with the unit, and slide it until it fills the opening. Some models have these already attached, but other units require you to slide them into the channels on the side of the air conditioner. Do this before putting the AC unit in the window opening to make it easier.
3. Slide the AC unit into the window carefully, from inside the room. The air conditioner should rest over the sill slightly angled downward, draining any condensation.
4. Lower the window sash so it fits tightly into the channel on top of the unit. To stop the sash from being accidentally raised, insert two screws through the upper rim on the air conditioner case into the window sash. Make sure to drill two holes in the window first to guide the screw into place.
5. Now fill the gap between the frame of the lower sash and the window on the upper sash with the foam seal. Usually, units come with a foam seal that can be cut to properly fit your window, but if you lost yours, they can be bought separately.
6. Plug it in! If needed, use an extension cord that is designed for powering air conditioners. Also, AC units run better with their own dedicated outlet so remove any other plugs before turning on your unit.
RELATED:
- Keep Your Apartment Cool and Cut Your Energy Bill This Summer With These Products and Tips
- Stay cool on the go with Zero Breeze, the first smart, portable air conditioner
- New York before the invention of air conditioning
Editor’s note: The original version of this story was published on June 22, 2017, and has since been updated.
Get Inspired by NYC.
Leave a reply
Your email address will not be published.


great guide thanks